


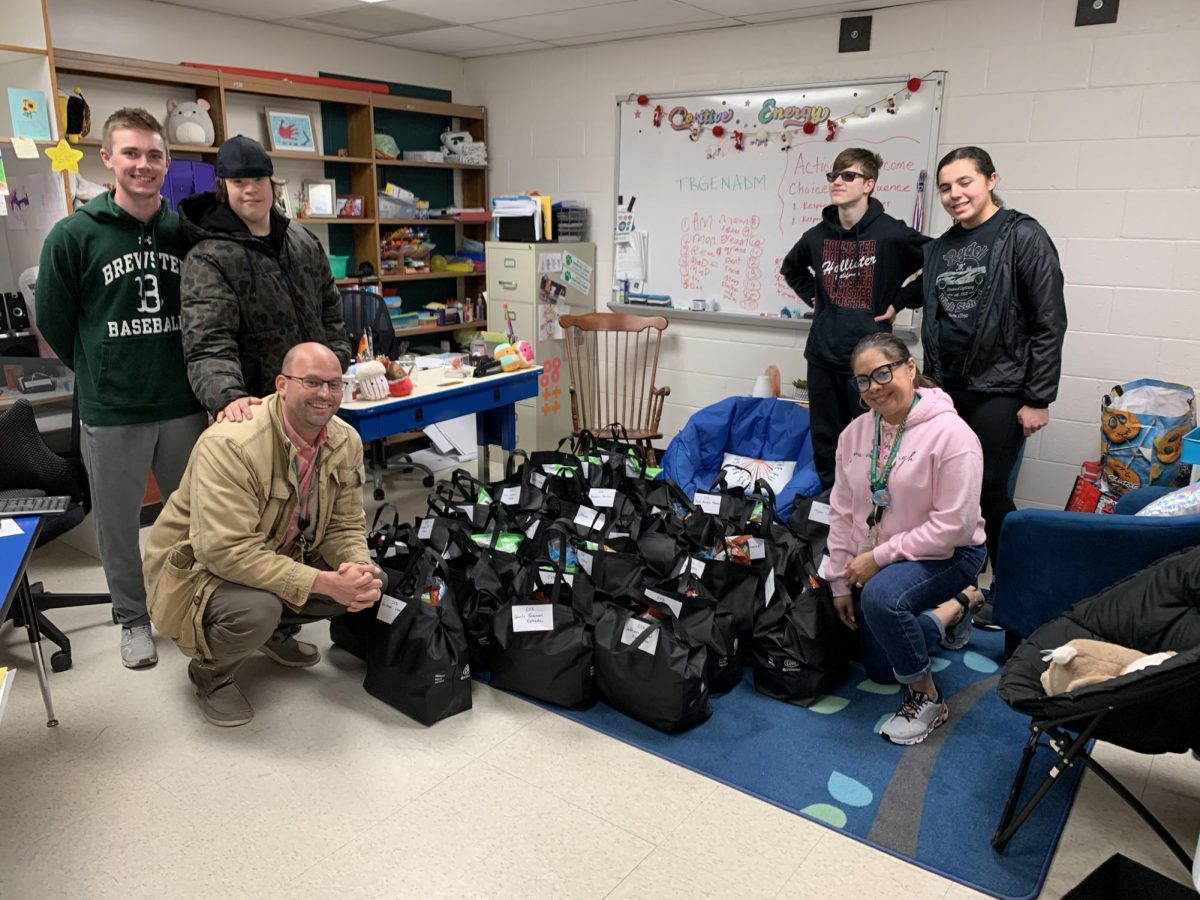


Summer is the perfect time to bring back that creativity and get started on all those Pinterest worthy ideas sitting on the back of your mind. It’s a great time to finally clean out all of your old art supplies sitting in the closet and put them to good use for a backyard DIY project! Even just thinking about a small project that can help spruce up some things around your yard is perfect for a sunny afternoon. DIY projects are considered one of the best things to do during your free time because it can not only improve your mental health, but it combines productivity and creativity. What determines a successful DIY project is about choosing the right tools and being budget friendly. You do not have to be an artistic genius to create really good DIY projects, you just need some creativity and motivation.
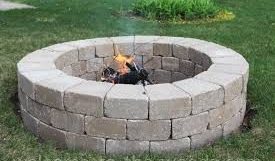
A DIY Fire Pit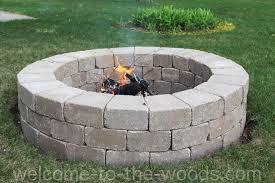
Fire pits aren’t just an opportunity to sing your favorite songs around, but it is also a great way to roast marshmallows on those cool summer nights and to invite guests over to come sit outdoors around the fire pit. Fire pits are also considered to be the focal point of most backyards especially when you make its surroundings nice as well. There’s many different ways to DIY a fire pit but the most cost effective way is by using cinder blocks or finding natural stone. To get started, choose a location away from any flammable objects and clear out the area. Next, outline the circle of your fire pit by using string or spray paint. Its diameter should be around 36-44 inches. Then, you need to dig out at least 4-6 inches of soil so that you can fill it with gravel or sand to create a fireproof base. After that, you can start stacking your blocks or stones. For the first layer, you should tightly pack each block together along the outline that you created. Then stack the second and third layers in a brickwork pattern in order to make this fire pit more stable. And that is one of the most simple ways to create your very own fire pit. There are other ways to do it of course, but this one is only $50-$100, and it looks amazing!
DIY Backyard Movie Screen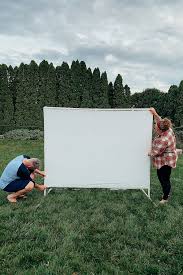
Along with the fire pit, a backyard movie screen is just what you need after a long summer day. You can stream your favorite movies or even TV shows on a large screen right in your own backyard while eating delicious popcorn and candy under the bright night stars. This is a great project to do since it’s only about $15-$50 and it will probably only take you about 1-2 hours. All you need is 1 white queen or king sized flat sheet, some rope or strong clips, a spot to attach both sides of the sheet to, and of course a projector. If you do not have a projector, you could make your own using the shoebox method. There are multiple ways to make one but I would suggest looking online for that separate tutorial. The bedsheet could go between two trees, on poles, or even on a fence. Once you find the spot you want to hang your sheet on, secure the sheet with whatever rope, bungee cord, or clip you are using to the spot from the top of the sheet. Make sure to also secure the bottom to prevent flapping. After everything is put into place, spray the sheet lightly with water to prevent wrinkles. And to improve picture quality, you could use a blackout sheet to put directly behind it and you will be all set!
DIY Pallet Vertical Garden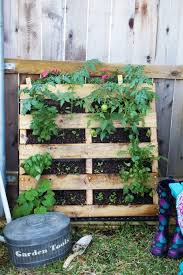
This is another fantastic DIY project you could do to improve the looks of your backyard. However this one does require more materials but it is still budget friendly, ranging from $10-$40. This one is especially good for trying to make the most out of a smaller space. So if you have a smaller backyard, this just might be the one for you to try! It’s also considered an eco-friendly DIY because it’s all about upcycling a wooden pallet instead of letting it go to waste. For this project you will need 1 wooden pallet (usually free from hardware stores), landscape fabric or weed barrier, a staple gun or nails, potting soil and small plants or herbs. Sandpaper and paint/wood sealant is optional. And a lot of these things can be found at your local hardware store like Home Depot or Lowes. The first step is to sand through rough spots on the wooden pallet with your sandpaper and use sealant for those spots, as well. This is optional but encouraged if you want a more clean look or extra durability. Next, take the landscaping fabric or weed barrier and staple that tightly to the back of the pallet in order to hold in the soil. After stapling the fabric on, turn the pallet upright in order to fill each section with the potting mix. Then place your plant herbs, small flowers, or succulents into each of the openings. Lastly, you need to secure the wooden pallet upright onto a fence, wall, or post very securely. If you have trouble with this step, there are many video tutorials on how to secure this, online. And that’s an easy way to create a pallet vertical garden in under 2 hours!